Astrophotography for beginners
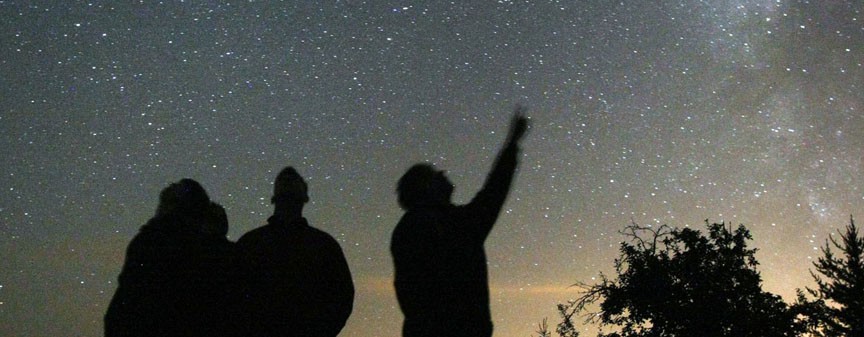
This guide is designed to help people interested in astrophotography to hit the ground running without making mistakes or reading thousands of hours of forums.
When I started I could not find a single guide or website with all the information I needed. Most of the site are of too many details and there are too many options for equipment, software. Here is a simpler list for you to get started with!
Needless to say there is a great advantage on doing some research of your own, allowing you to:
- spend more time as hobby and not rush to conclusions
- learn more about all aspects of astronomy and astrophotography
- give you something to do during the majority of time that the night sky is not clear or observable
I will divide this into phases which you may want to follow to enjoy your journey and have more fun and collect more knowledge on the way. If you have absolute desire to just get some image and be done, then find and read phase 3 or 4 below only. But do not skip phase 1 unless you already have that knowledge!
Note: I am still a beginner and am learning myself, so please check this blog for updates again in the future
Phase 1 -learning the basics and having fun:
This is the basic setup that will cost you not more than 25–30$ but allow you to hit the ground running.
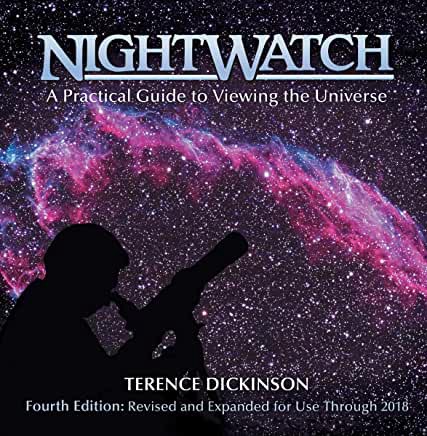
a great book
- buy a nice book: like NightWatch by Terence Dickinson, for the cloudy nights and the long days. This will allow you to learn all the basics and be ready to enjoy the night skies!
- go out and learn the dark night skies: use the sky maps in the book above, and a cell-phone virtual reality app like Sky Guide is one I found effective
Why: because you will be able to enjoy the night sky and recognize objects without a telescope or camera, and share your knowledge with others as you walk outside at night!
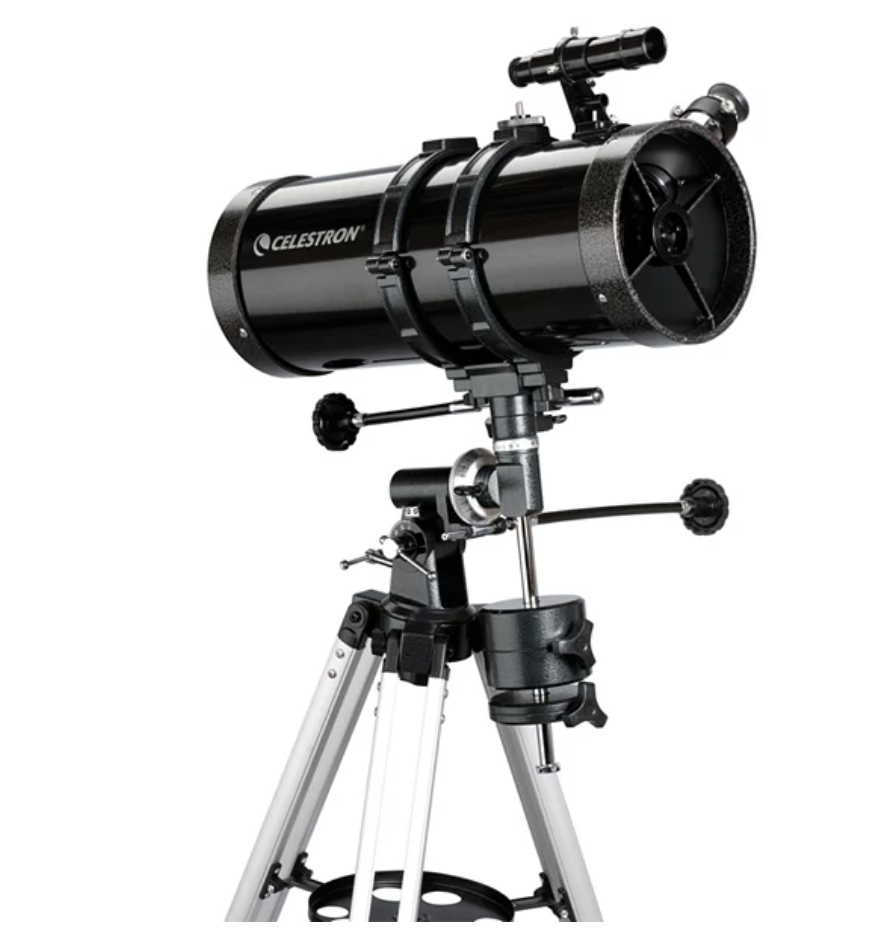
initial telescope setup
Phase 2 — get a simple telescope and tripod
This setup will cost you ~150–500$.
- beginner telescope and tripod like the: Celestron PowerSeeker 127EQwhich is enough to start learning how to point a telescope and how the sky rotate around you and you have to manually track it! It will be hard to see planets in detail with this, but you can get really good observing the moon, and bright targets like Andromeda, and the Orion Nebula.
- be aware that this is not easy but it can be fun and leads to some quality time spent outside, especially in Fall or Spring when temperatures and mosquitoes are not a bother.
- Another options is also the SVBONY SV48P Telescope, but requires you to buy a separate tripod and objective lenses. It is a more advanced step, but the advantage is that this telescope can also be used for the next 1–2 phases!
- A tripod I really liked and that can be used for more phases later is this: ZWO TC40 Carbon Fiber Tripod. There are much cheaper options online, albeit not as light and stable as this one.
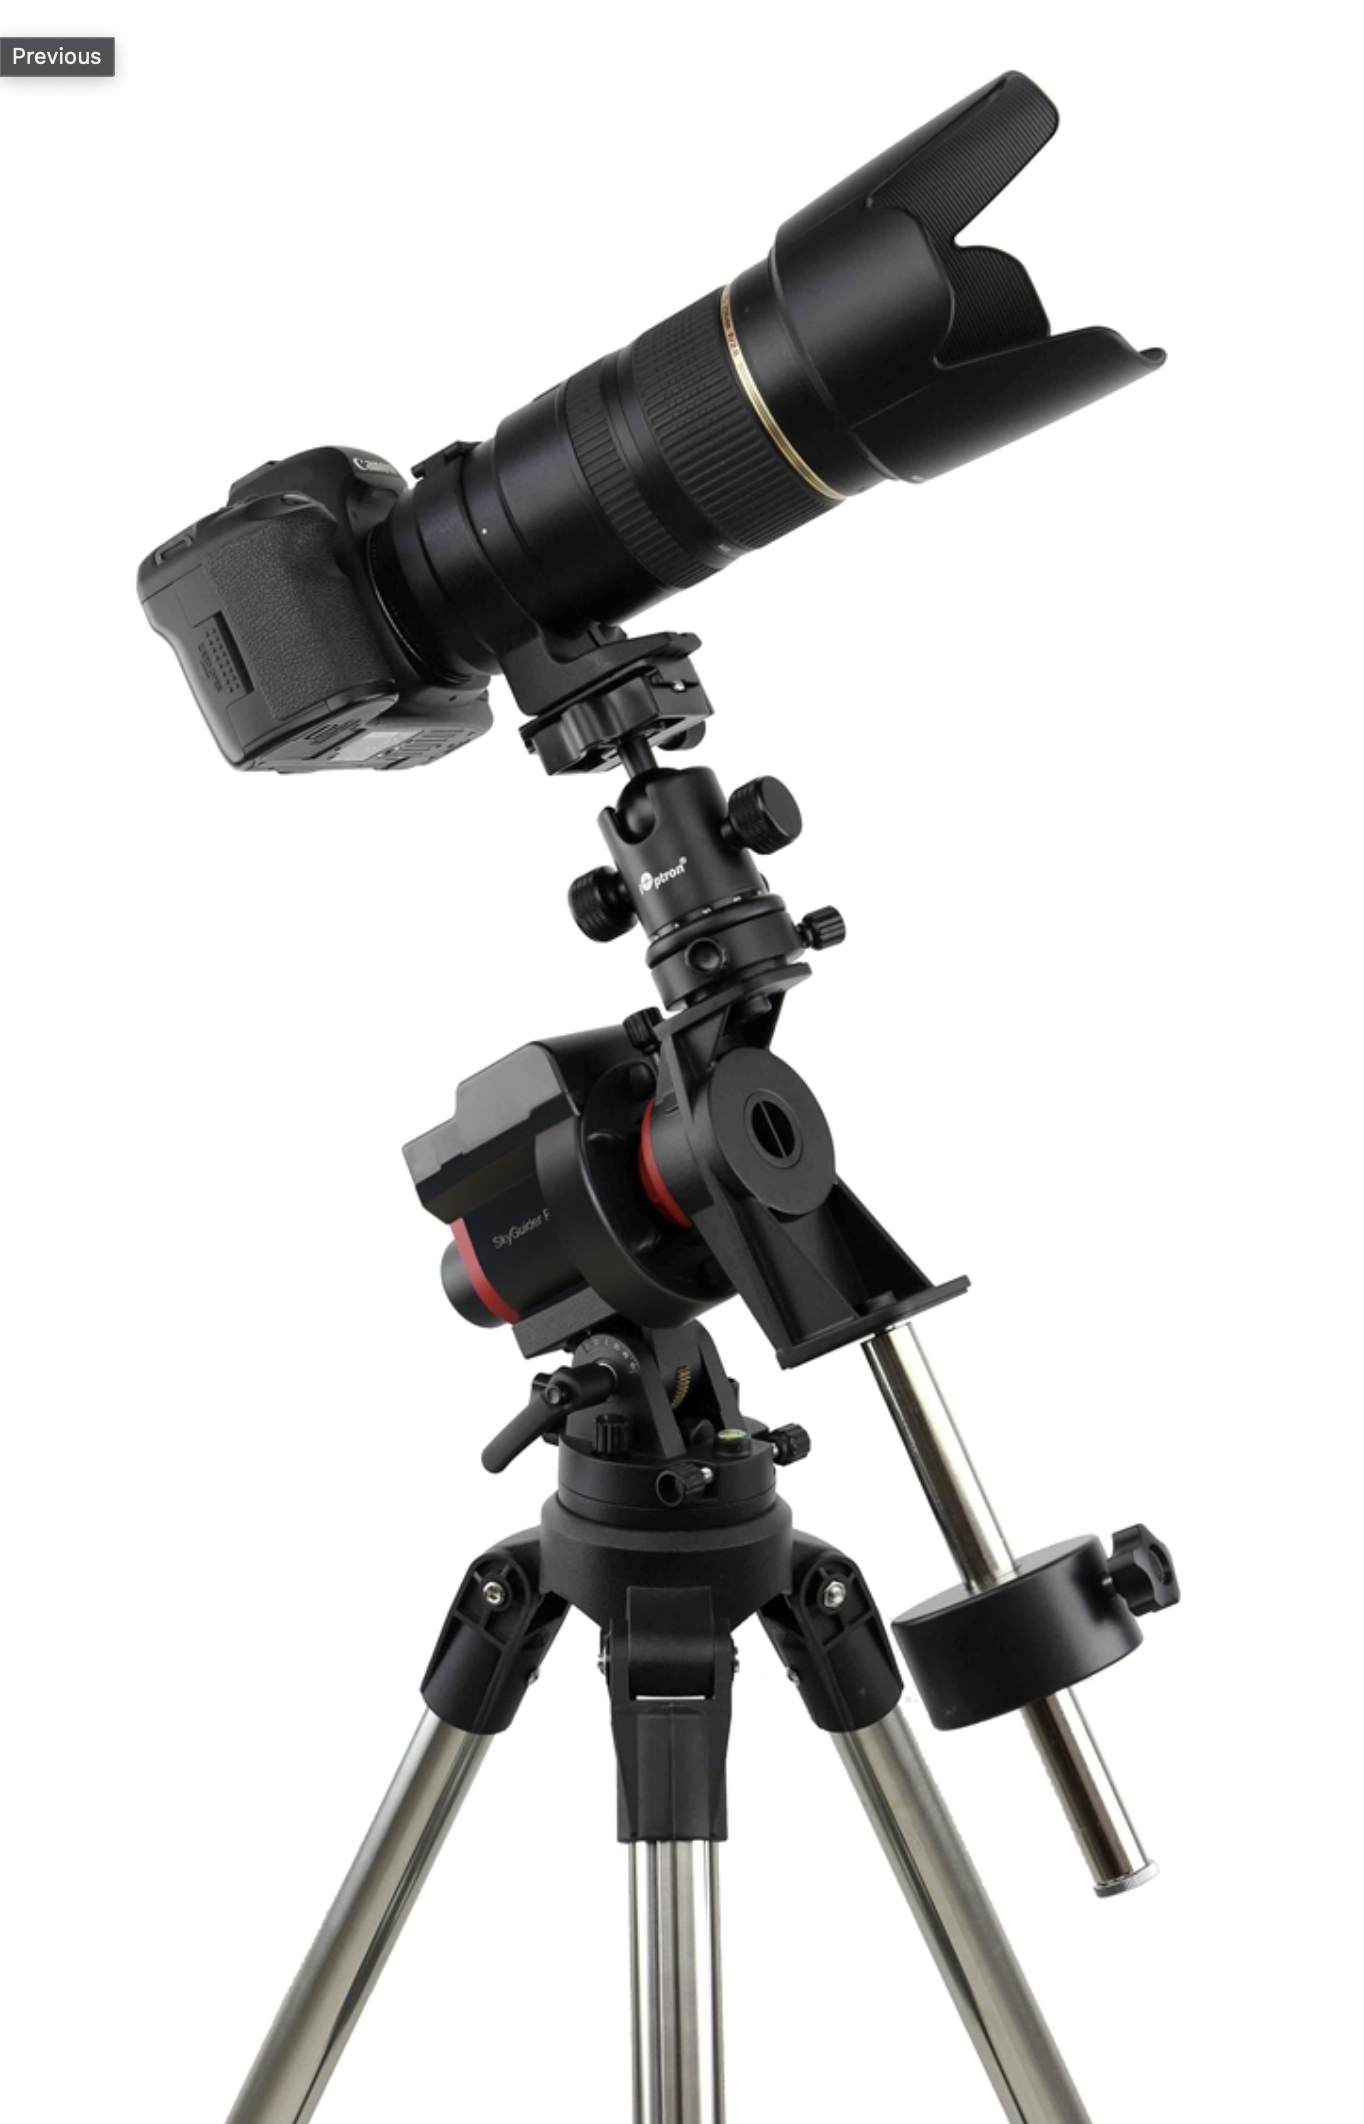
simple setup
Phase 3 — simple astrophotography
This setup will cost you ~1,000–1,500$.
- A photography camera like the Canon EOR Rp, or Rebel t7, i90D, depending on budget. An APS-C camera is enough but if you like to be full-frame and ready for the next steps I recommend a full-frame camera like the EOR R/Rp or similar. The best cameras are the one with large pixels and that do not suffer from self-heating. The Canon EOS Rp is a good compromise of large pixels, decent pixel count and low self-heating.
- A camera telephoto zoom lens, like the Canon EF 75–300MM f/4–5.6 III USM or the Rokinon / Samyang 135mm f2 lens that is adored by nigh-sky photographers!
- A camera sky tracker, like the iOptron Skyguider Pro is needed to move the camera and be able to perform long exposures. This will require you to get a sturdy tripod, but hopefully you will already have this from a previous phase. In order to use this mount you will have to polar alight it — meaning you align the mount to the Earth’s axis of rotation. This mount has a small telescope inside to see Polaris and align to it, best if using a cell-phone app like PS Align. This is a required step if you want the mount to track your stars and targets. It will require some good knowledge of where Polaris is and a 5–10 minutes to properly align. Your knowledge from Phase 1 will come handy to find Polaris, and you will need patience to correctly align. If you are off in your alignment your stars and targets will trail and smear your photo. I suggest getting practice, but be aware that kneeling down to find Polaris is sometimes a bit of a struggle and you want to get going — but resist the urge and align well!
- After correct alignment with Polaris, you will be able to shoot photos with long exposure of a few minutes. I often use 30s, 60s, 180s or 5 minutes. The longer you expose and the more stable and aligned you need to be. I found 60–180s to be the best spot for this setup.
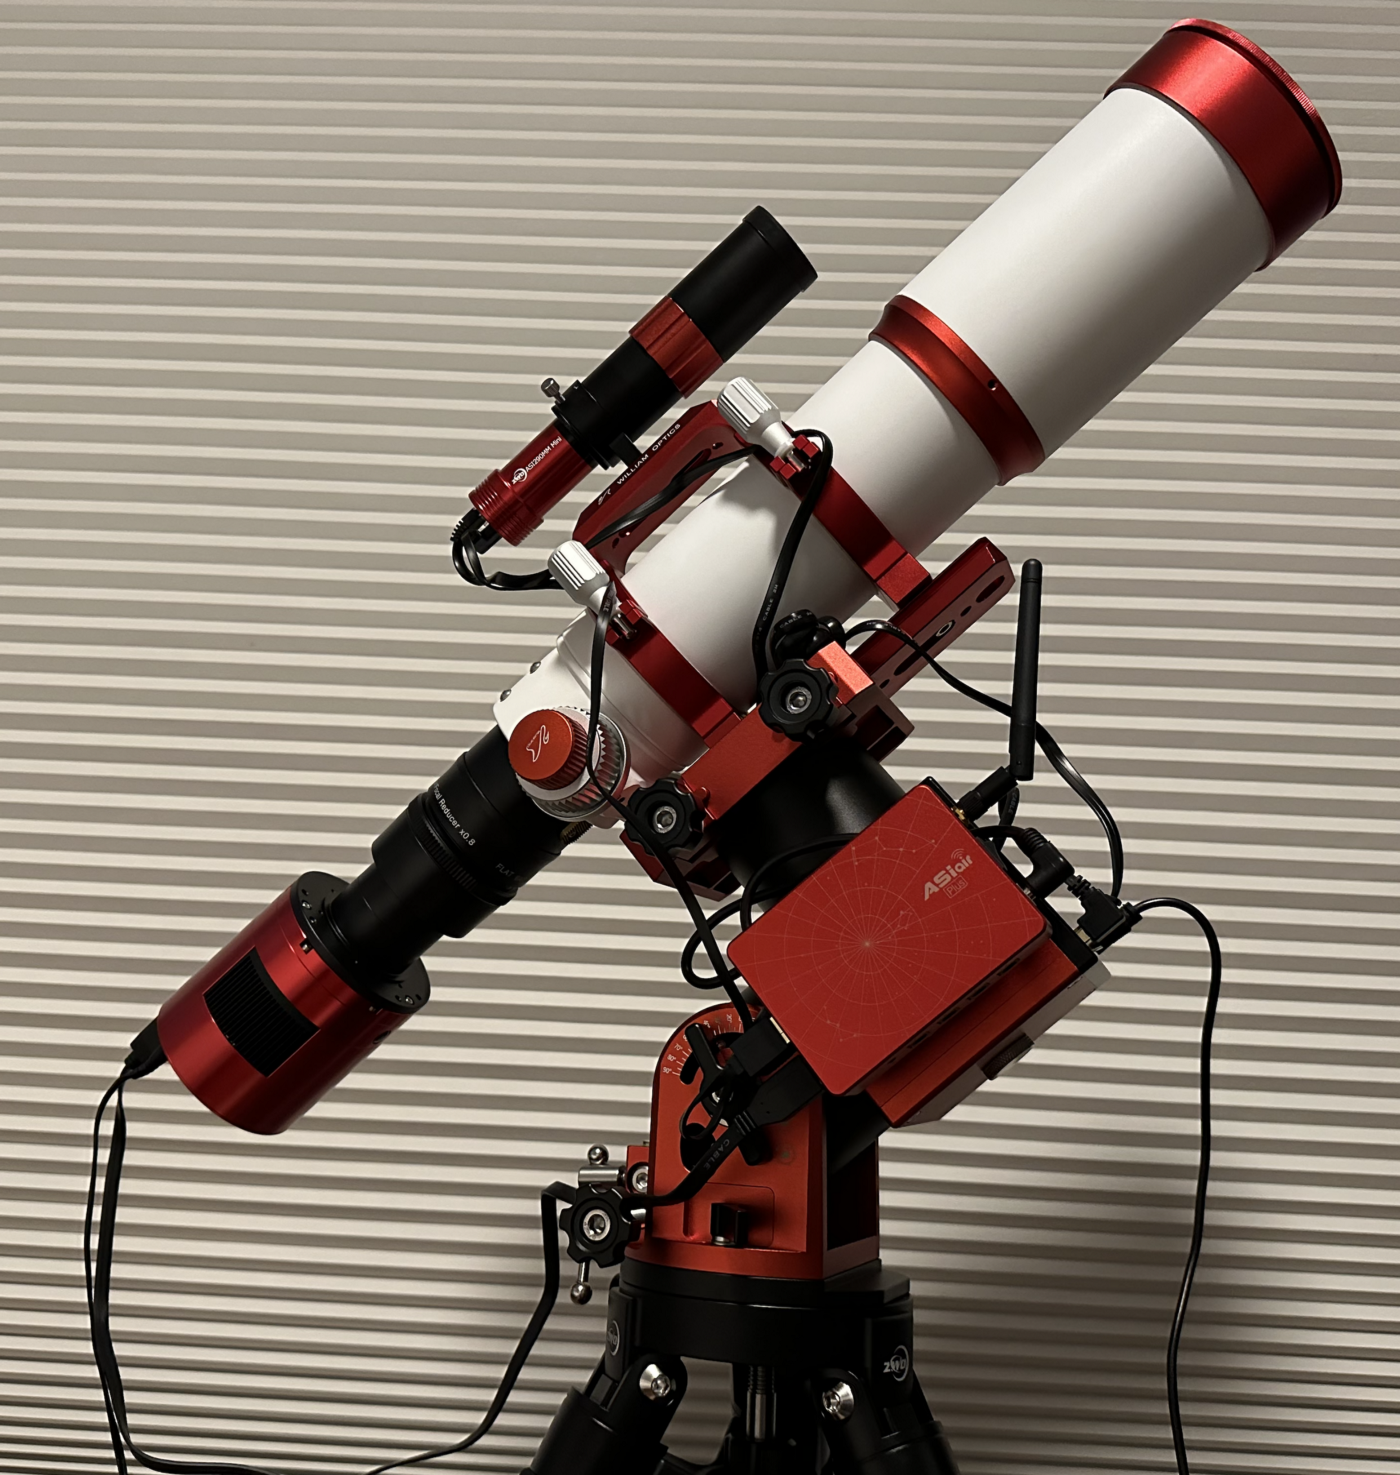
an advanced setup
Phase 4 — more advanced astrophotography
This setup will cost you ~4,000–5,000$.
- a better astrophotography telescope capable of full-frame photos is the William Optics Zenithstar series
- Full frame imaging will require you also to buy a field flattener like the William Optics FLAT6AIII, so you stars will be point-like and not distorted even at the edge of your full frame camera (in photography this undesired effect is called vignetting). If you have a APS-C camera and do not care too much of getting a large field, you can do without a flattener.
- a computer controlled go-to mount, like the: ZWO AM5 Harmonic Drive Hybrid AZ/EQ Mount, is a superb upgrade from what you are used to before, allowing you to simply align to polaris and then use the go-to functions to directly and accurately point to any objects in the sky. This makes targeting a breeze, but also takes away some of the fun of finding targets, and does not build your knowledge of the sky.
I also recommend the following extras to make observing easy and even more accurate:
- ZWO ASIAir Plus Wireless Camera Controller for Astrophotography. This is a full computer controller, but makes you life so much easier if you want to take long session of hours! It allows you to control your mount, camera and more with a call-phone or tablet app, and even helps you in polar alignment, finding targets, etc. I highly recommend this computer because it can amplify your abilities and really remove a lot of frustrations.
- There is a less expensive option for computer control: https://www.astroberry.io/ but will require you to spend more time to set-up and test and make sure all your equipment is supported. In case of a Canon EOS Rp camera for examples, I was not able to make the astroberry work, but the ASIAir was perfect and a breeze!
- a guide-camera and small telescope, like the: ZWO 30 mm f/4 Guide Scope and ZWO ASI290MM Guide Camera i necessary if you want a more refined tracking of targets, so your images are even shaper!
Phase 5 — the ultimate setup
This setup is for professional astrophotographers with a large budget of ~10,000$ or more.
- Celestron EdgeHD 11” OTA — a very capable telescope that can be used with f10 for deep sky targets and f2 for larger targets!
- ZWO ASI6200mm pro — a professional camera
- filter wheel — to image different wavelengths separately
- iOptron HEM44 with High Precision Encoder (HEM44EC) — a more powerful mount to support the heavier telescope and equipment
Processing photos
Do not waste money on software, the best is luckily free. I used some paid alignment software and it was highly inferior or not working at all! GIMP is a free photo editor like PhotoShop.
- align photots with ASTAP. Use AstroM white star to avoid saturation in de-mosaic methods.
- process photos with GIMP
References
Books
Websites:
- https://www.cloudynights.com/ — best site overall for posts, classified ads, and massive number of reviews and posts (be aware, needs long hours to read and search!)
- https://astrobackyard.com/– really good for beginners, but became too large and too many video and equipment review that can be confusing
Equipment:
- Celestron PowerSeeker 127EQ
- Canon EOR Rp
- iOptron Skyguider Pro
- William Optics Zenithstar
- William Optics FLAT6AIII
- ZWO AM5 Harmonic Drive Hybrid AZ/EQ Mount
Computers
- ZWO ASIAir Plus Wireless Camera Controller
- https://www.astroberry.io/ if you want to make your own computer with a Raspberry Pi
Apps / Software:
- https://www.fifthstarlabs.com/ — Sky Guide cell-phone App
- Align photos: http://www.hnsky.org/astap.htm — this is the best software and it is free! Do not spend money on some inferior software, learn and use this!
- GIMP https://www.gimp.org/
- https://www.cloudynights.com/topic/607208-basic-gimp-29-guide-for-quick-astro-photo-editing/ — this is what I use to process images with GIMP. This is one of the simplest ways!
- https://www.youtube.com/watch?v=Tl4Ie92MuTs — GIMP processing tutorial I leaned and use!
about the author
I have more than 20 years of experience in neural networks in both hardware and software (a rare combination). About me: Medium, webpage, Scholar, LinkedIn.
I spend some of my free time, especially in the late Fall, Winter, early Spring months to look at the sky.
If you found this article useful, please consider a donation to support more tutorials and blogs. Any contribution can make a difference!
